Cement is a versatile and durable building material, but over time, it can develop cracks, chips, and other imperfections. While major cement repairs are best left to the professionals, small-scale fixes are a DIY enthusiast's dream. With the right tips and tricks, you can tackle these mini-repairs like a champ and save yourself some cash. Let's dive into the world of DIY cement repairs!
Before you embark on your DIY cement repair adventure, gather your materials. You'll need cement mix, a trowel, a bucket, water, a wire brush, and a concrete bonding agent. Make sure you have all your tools on hand to keep the process smooth and efficient.
Remember, safety should be your number one priority. You must wear appropriate protective gear and gloves for safety reason. Cement can be caustic, so take precautions to avoid skin or eye contact.
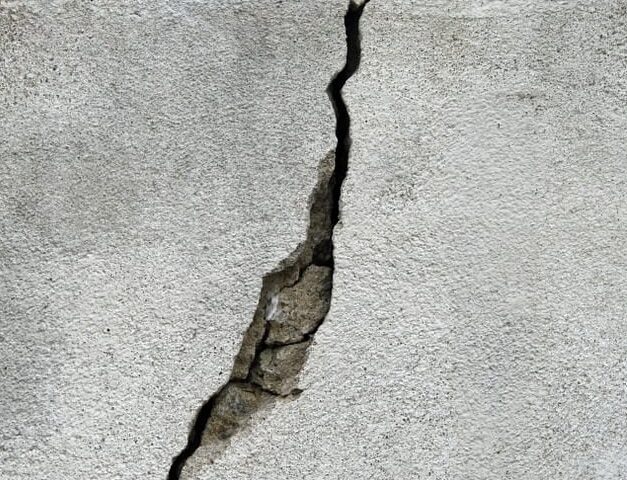
Start by cleaning the damaged area. Use a wire brush to remove loose debris and dirt. The cleaner the surface, the better your repair will adhere. It's like prepping a canvas for a work of art.
A concrete bonding agent is your secret weapon. Apply a thin layer to the cleaned surface before you start mixing and applying your cement. This agent helps the new cement adhere to the old, ensuring a strong and lasting repair.
Now, let's get to the fun part – mixing the cement. Follow the instructions on your cement mix, and aim for a consistency similar to peanut butter. It should be easy to work with but not too watery.
Using your trowel, carefully spread the cement mix over the damaged area. Make sure it's level with the surrounding surface, and use your trowel to create a smooth finish. Be patient; it might take a few passes to get it just right.
If you're working on a vertical surface, like a wall or steps, use a sponge or a broom to create a texture that matches the existing finish. This not only helps your repair blend in but also adds a bit of style to the mix.
After applying the cement, it's time to be patient. Let your repair cure for at least 48 hours or more. Cover it with plastic or a damp cloth to keep it moist, allowing it to harden properly.
Once your repair is dry, you might notice a slightly different color compared to the rest of the surface. No worries! You can use a concrete stain or paint to match the colors and blend it in seamlessly.
Ready to DIY?
Now that you've got the basics of DIY cement repairs under your belt, you can confidently tackle those small-scale fixes.
Remember, for more extensive repairs or projects, it's best to consult with a professional at 519 Knickerbocker Ave, Brooklyn, NY 11221 (718) - 285 - 7841 https://www.bushwickroofingny.com